Beyond The Suds
Sneak Peek at a Soaping Session
by Carrie
How long does it take to make a batch of soap? People usually ask me this question in reference to bath soaps and it's a simple question, with a not-so-precise answer: It depends. What size is the batch? Is it solid-colored or a multi-color design? How many batches will be done during the session? Is it a standard bar or a specialty recipe? And are they curious about the timing for the entire process (start to finish) or just the actual "oils-and-lye-blending-to-make-soap" part? This soap was not made today, but I really love these swirls.
While it's hard to pin down an actual time frame for how many minutes goes into a batch of soap, each soaping session tends to follow a fairly regular and predictable series of steps. And since I just so happened to make a few batches of soap this afternoon, I thought it might be a good time to snap a few behind-the-scenes shots to share. (Huge kudos to the hubby to whisking the kiddos away for a few hours so I had a safe, quiet space to work....ALONE!)
A typical soaping session (for bath soap) looks something like this:
-
Decide what soaps we need, how much of each to make, and which molds are needed. This usually happens in the soap shop, as Darren and I check the shelves to see which soaps we're low on and formulate a plan of attack.

-
Print Recipes. I use a great program called SoapMaker 3 to access our stored recipes/files/notes for each soap and resize them according to what's on that day's agenda. (Side Note: This program is one of my top recommendations for anyone who makes soap!)

-
Line Molds. Freezer paper, tape, and scissors are my friends for this step.

-
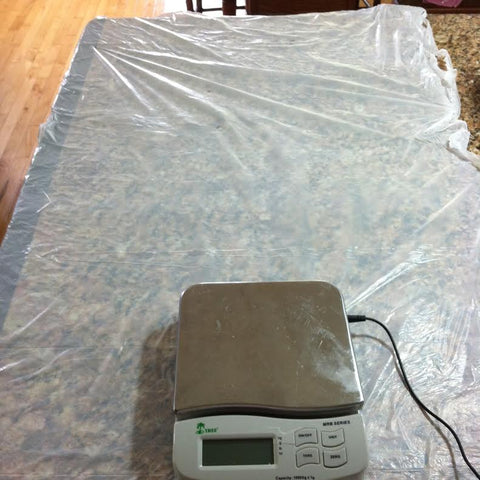
Prep the Work Space. I work in my kitchen (for now), so there usually needs to be kitchen clean-up before I get started with soaping. (Double kudos to my hubby to taking care of all the dishes and making sure I had a clear countertop before heading out with the crew.) I use plastic to protect the countertop and make the later clean-up easier.

- Gather ingredients, containers, and equipment. Since we don't (yet) have a dedicated soaping area, this step involves a little "shopping" from different areas of the house....oils/butter are already in the kitchen, buckets/containers are in another section, colorants and fragrances are in the soap shop, and utensils and stick blenders have a home on a shelf.
-
Weigh out each ingredient into soaping containers. Pretty self-explanatory step, just have to be certain to keep each container-recipe combo straight.

-
Make the soap. Now we get to the fun part (finally!). This is where the magic happens, when the oils/butter dance with the lye water to become soap "batter" that gets colored, fragranced, and put into molds.
 Respect soap was unusually messy today!
-
Put it to bed. Technically, it's referred to as insulating the soap, but around here we put it to bed under a pile of Grandmother Seibert's handmade blankets They'll sleep there for about a day while the soap gets really hot and goes through the gel phase.

- Clean Up. The least fun part of the deal, but it does at least signal the "end" of the soaping session (and I can mark "Make Soap" off that day's list).
So what did that translate to for today? I spent about 4-5 hours from start to finish and made 5 batches of soap. Two of those were specialty soaps, while the other 3 were for our core, standard line. Altogether, it was a total of about 40 pounds of soap, which we'll unmold and cut either tomorrow or the following day.


 Respect soap was unusually messy today!
